Shooting Still Pictures
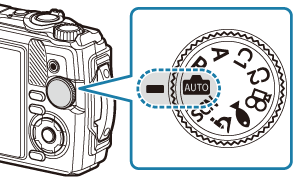
Shooting modes
| 0 | AUTO (“Letting the camera choose the settings (AUTO mode)”) |
|---|---|
| P | Program AE (“Letting the camera choose aperture and shutter speed (P: Program AE)”) |
| A | Aperture-priority AE (“Choosing aperture (A: Aperture-Priority AE)”) |
| SCN | Scene (“Shooting in scene mode (SCN mode)”) |
| 7 | Microscope (“Shooting at very close range (7 mode)”) |
| 6 | Underwater (“Matching settings to underwater scenes (6 mode)”) |
| C1 | Custom (“Using Custom Modes (Custom Mode C1/C2)”) |
| C2 |
- For information on the n position on the mode dial, see “Recording movies in movie mode (n mode)”.
Rotate the mode dial to set the mode you wish to use.
Frame the shot.
- Be careful that your fingers or the camera strap do not obstruct the lens or AF illuminator.
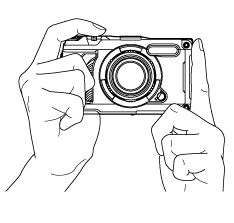
Landscape position
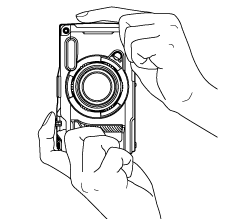
Portrait position
Adjust the focus.
Position the AF frame over your subject.
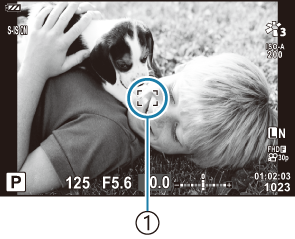
- AF frame
Lightly press the shutter button down to the first position (press the shutter button halfway).

The AF confirmation mark (N) will be displayed, and a green frame (AF target) will be displayed in the focus location.
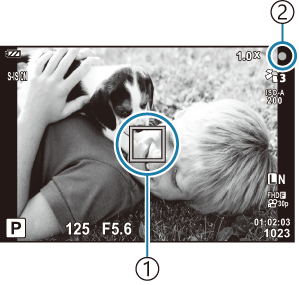
- AF target
- AF confirmation mark
- If the camera is unable to focus, the AF confirmation mark will flash (“No picture is taken when the shutter button is pressed”).
Release the shutter.
- Press the shutter button the rest of the way down (fully).
- The camera will release the shutter and take a picture.
- The shot image will be displayed on the monitor.

Press the shutter button all the way down.
Using the zoom
Zoom in to photograph distant objects or zoom out to increase the area visible in the frame. Zoom can be adjusted using the zoom lever.
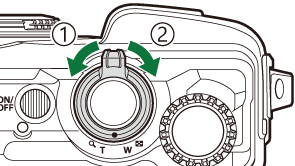
- Wide (W) side
- Telephoto (T) side