Connecting the camera and remote control
Wireless connection
For wireless connection, you must pair the camera and the remote control first.
- Highlight [Wi-Fi/Bluetooth Settings] in the e Setup Menu and press I.
- Highlight [Wireless Shutter Setting] and press I.
- Highlight [Start Pairing] and press the OK button.
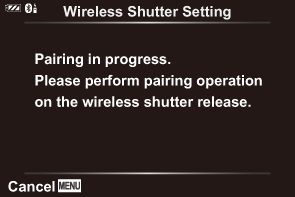
When a message is displaying stating that pairing is in progress, rotate the mode dial on the remote control to CONNECT and keep it in this position.


- Pairing starts when it is kept in this position for 3 seconds. Keep it in the CONNECT position until pairing is complete. If you rotate the mode dial before it is complete, the data transfer indicator flashes rapidly.
- The data transfer indicator lights when pairing starts.
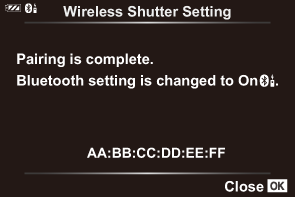
When a message indicating that pairing is complete is displayed, press the OK button.

- The data transfer indicator turns off when pairing is complete.
- [Bluetooth] will automatically be set to [Onr] when pairing is complete.
- If you rotate the mode dial of the remote control or press the MENU button of the camera before the pairing completion message is displayed, the pairing process ends. Paired device information will be reset. Pair the devices again.
- If you rotate the mode dial of a remote control that is not currently paired to CONNECT and keep it in this position for 3 seconds, or if pairing fails, the pairing information from previous connections will be reset. Pair the devices again.
Deleting pairing
- Highlight [Wi-Fi/Bluetooth Settings] in the e Setup Menu and press I.
- Highlight [Wireless Shutter Setting] and press I.
- Select [Delete Pairing] and press the OK button.
- Select [Yes] and press the OK button.
- If you have paired the camera with a remote control, you will need to perform [Delete Pairing] to reset pairing information before you can pair the camera with a new remote control.
