Adding information displays using the INFO button (G/Info Settings)
MENU Q C Q B Q [G/Info Settings]
q Info (Playback information displays)
Use [q Info] to add the following playback information displays. The added displays are displayed by repeatedly pressing the INFO button during playback. You can also opt to not show displays that appear at the default setting. g “Switching the information display”
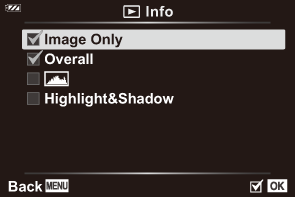
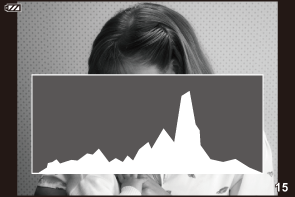
Histogram display
A histogram showing the distribution of brightness in the image is displayed. The horizontal axis gives the brightness, the vertical axis the number of pixels of each brightness in the image.
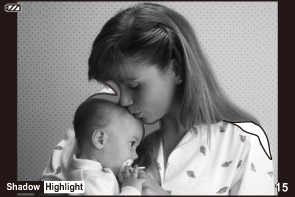
Highlight & Shadow display
Areas above the upper limit of brightness for the image are shown in red, and those below the lower limit are shown in blue.
LV-Info (Shooting information displays)
Choose the info shown in the live view shooting display. g “Switching the information display”
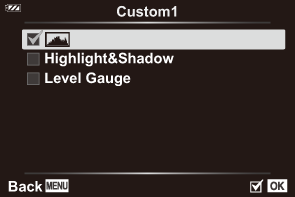
The histogram, Highlight & Shadow, and level gauge displays can be added to [LV-Info]. Select [Custom 1] or [Custom 2] and select the displays you wish to add. The added displays are can be viewed by repeatedly pressing the INFO button during shooting. You can also opt to not show displays that appear at the default setting.
Level gauge display
The orientation of the camera is indicated. The “tilt” direction is indicated on the vertical bar and the “horizon” direction on the horizontal bar. The camera is level and plumb when the bars turn green.
- Use the indicators on the level gauge as a guide.
- Error in the display can be corrected via calibration (“H K Utility”).
G Settings (Index/calendar display)
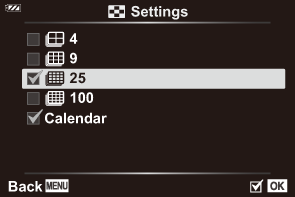
You can change the number of frames to be displayed on the index display and set to not display the screens that are set to be displayed by default with [G Settings]. The displays marked with a check can be viewed by rotating the zoom lever.
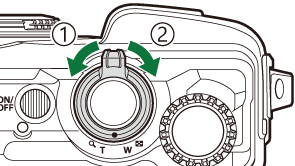
- Counterclockwise (G side)
- Clockwise (8 side)
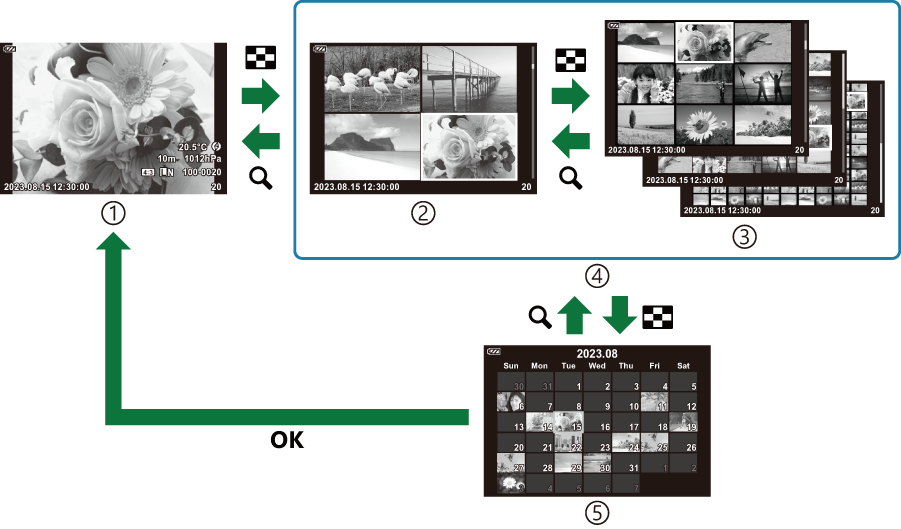
- Single-frame playback
- 4 frames
- 9, 25, or 100 frames
- Index display
- Calendar display
